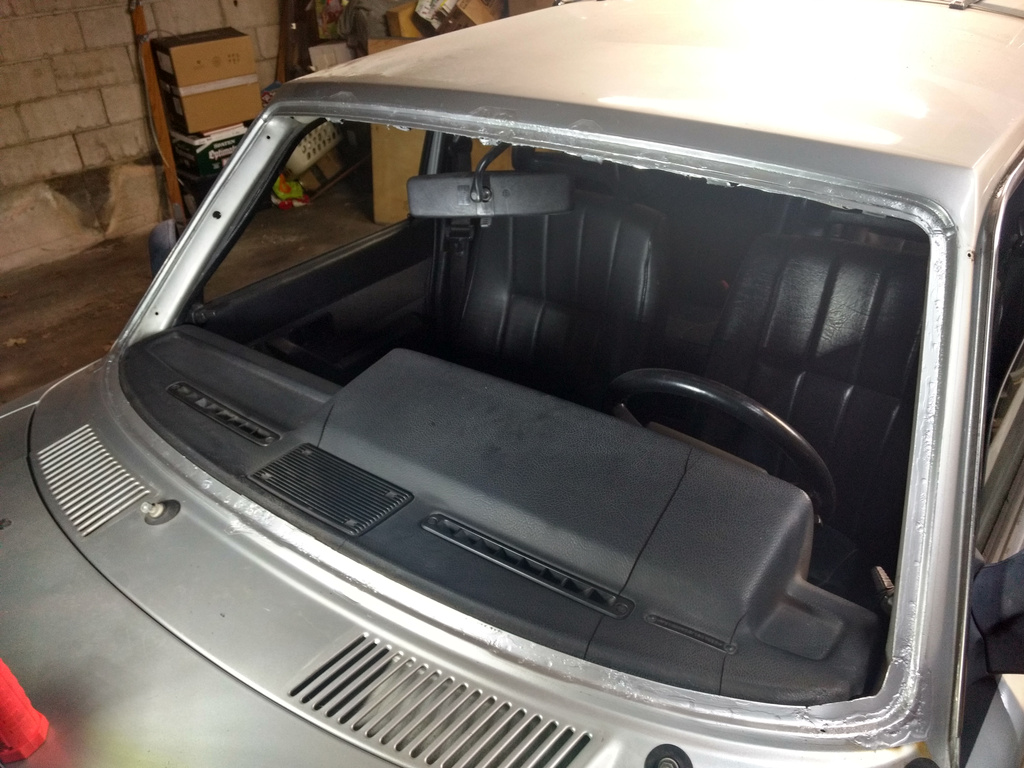
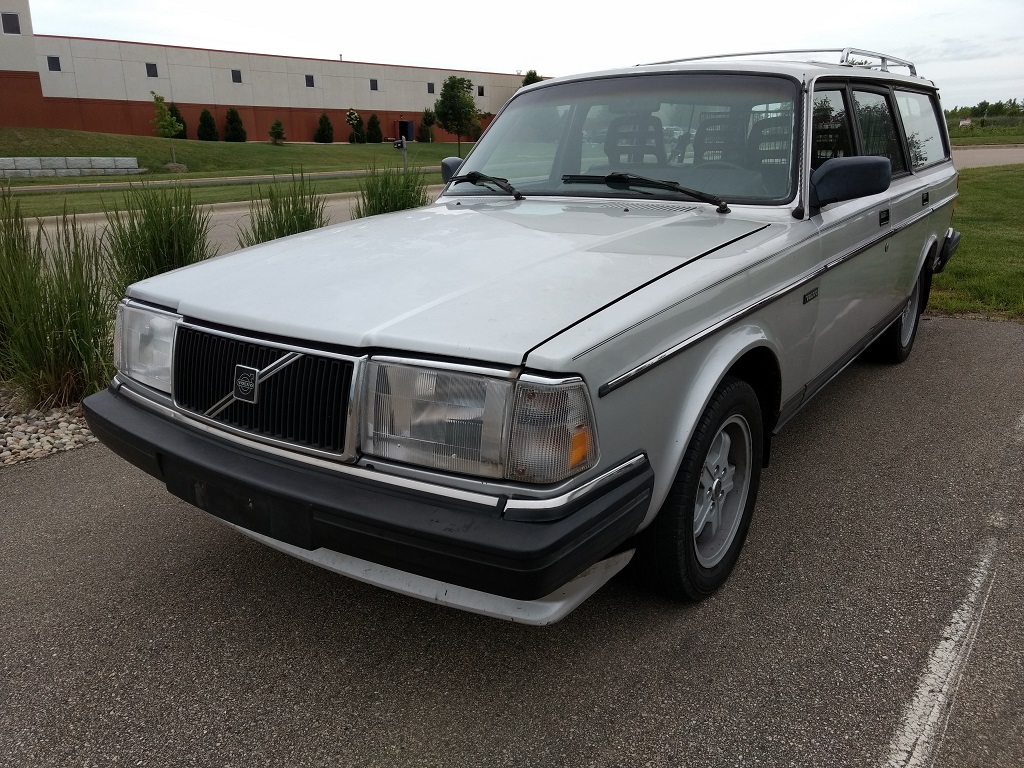
The 1990 and earlier Volvo 240 windshields are known for their frustrating trim design which was held on by 22 plastic clips, set into the butyl rubber used to mount the windshield. My 1989 240 developed a leak near the top right of the windshield due to a combination of rust and shoddy resealing done by the previous owner.

Rather than try to bodge some silicon sealant into the leaky areas and buy myself another couple of years, I chose to fully remove the windshield and re-glue it with urethane, replacing the chrome trim strip and clips with more modern rubber trim at the same time.
Using a piece of braided steel wire and two dowels as handles, I sawed through the existing urethane after poking a hole with a exacto knife to feed the wire through. What was waiting for me underneath was not pretty.
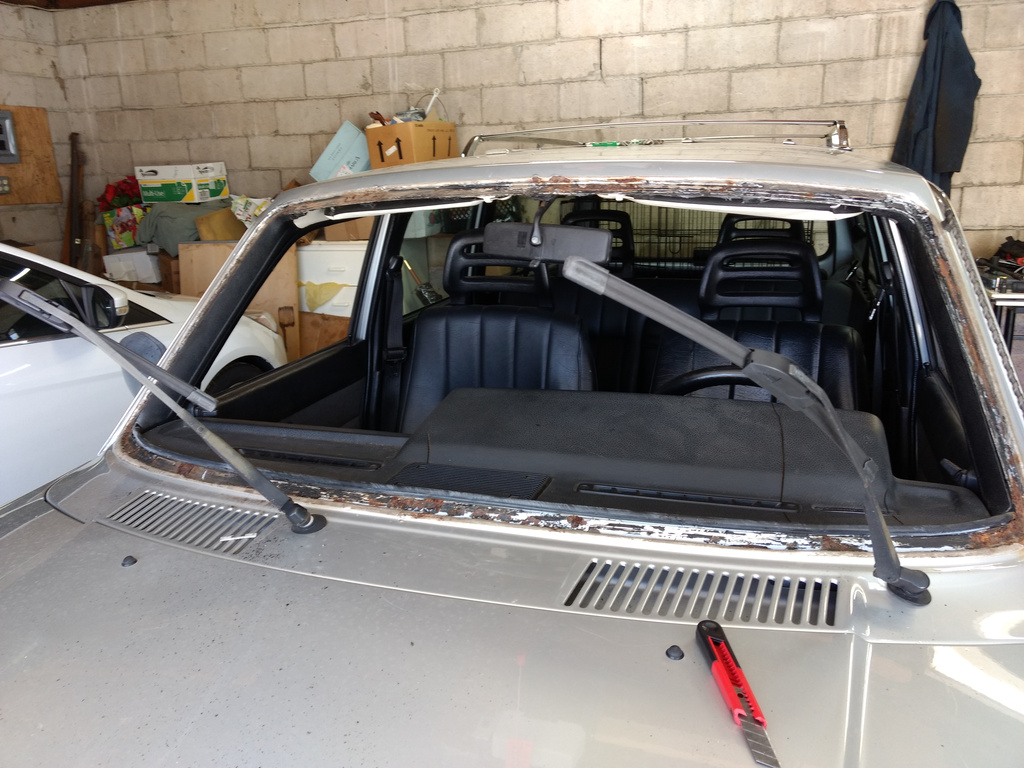
The pinchweld had rusted enough that there was no choice but to cut it out in several places and weld in new sheet metal:
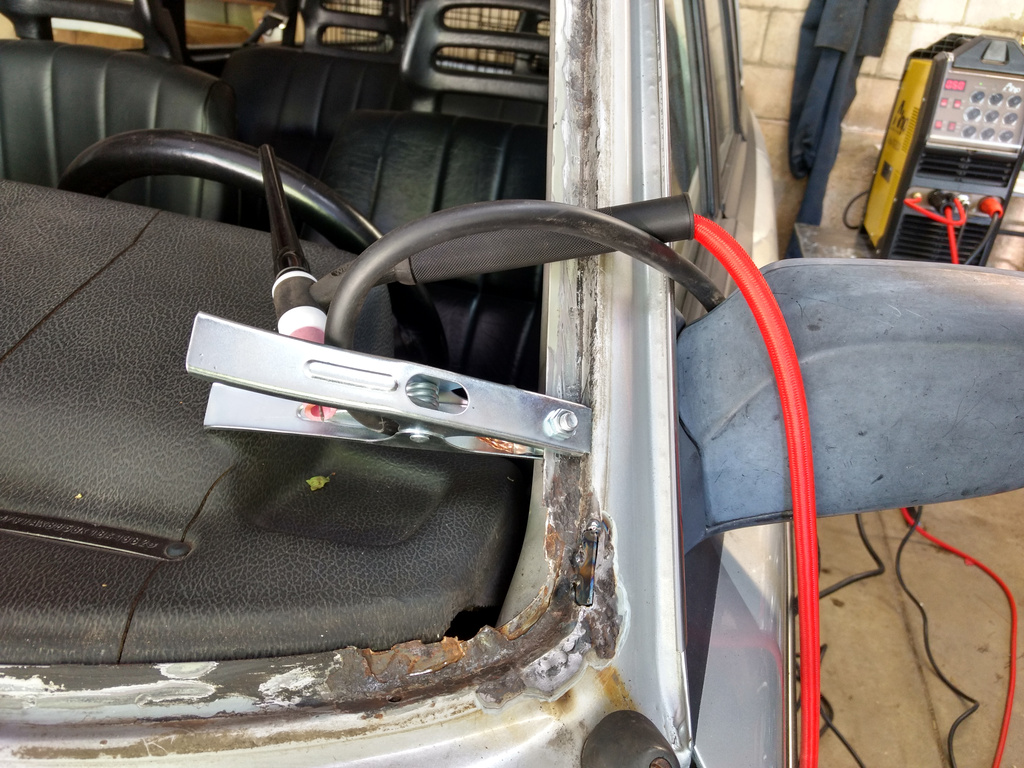
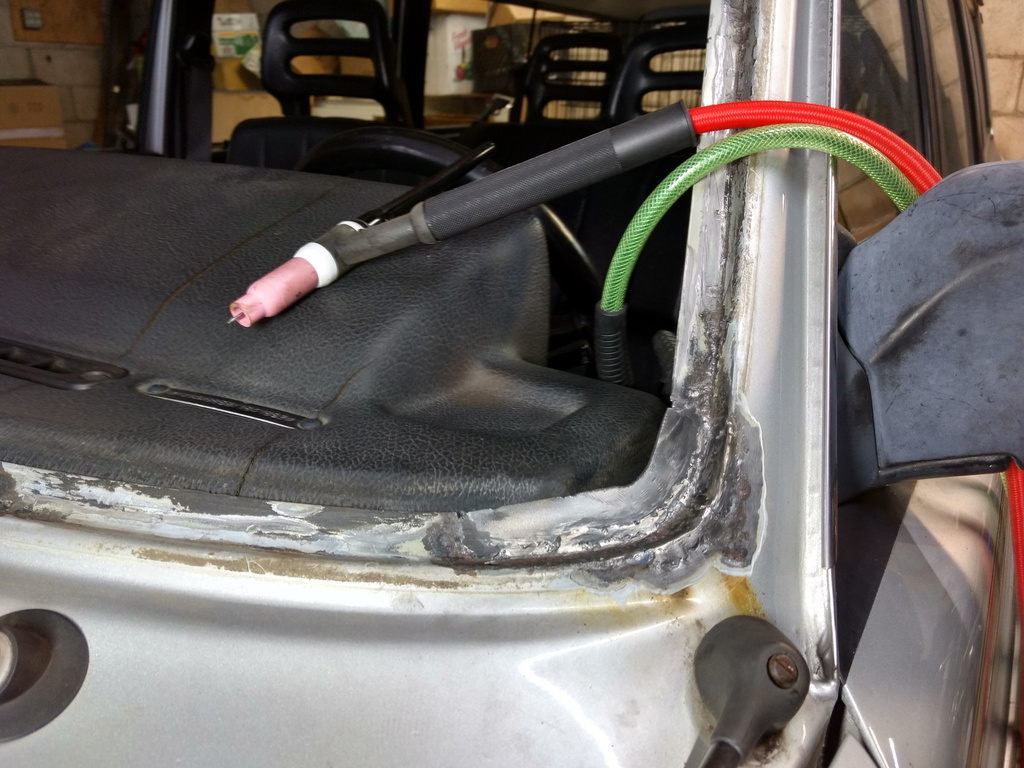
I used a dremel with a cutting disk to remove the old metal and TIG welded in a patch with my AHP AlphaTIG 200X (this job is what finally pushed me to buy it).
As I welded small sections, I used an air gun to cool the back side of the pinch seam to avoid setting the dashboard on fire. I kept a fire extinguisher close by at all times regardless.
I masked off the entire area and painted it with Rust-Oleum professional primer and high performance enamel. The silver Rust-Oleum just happens to be a very close color match to the silver on the 240.
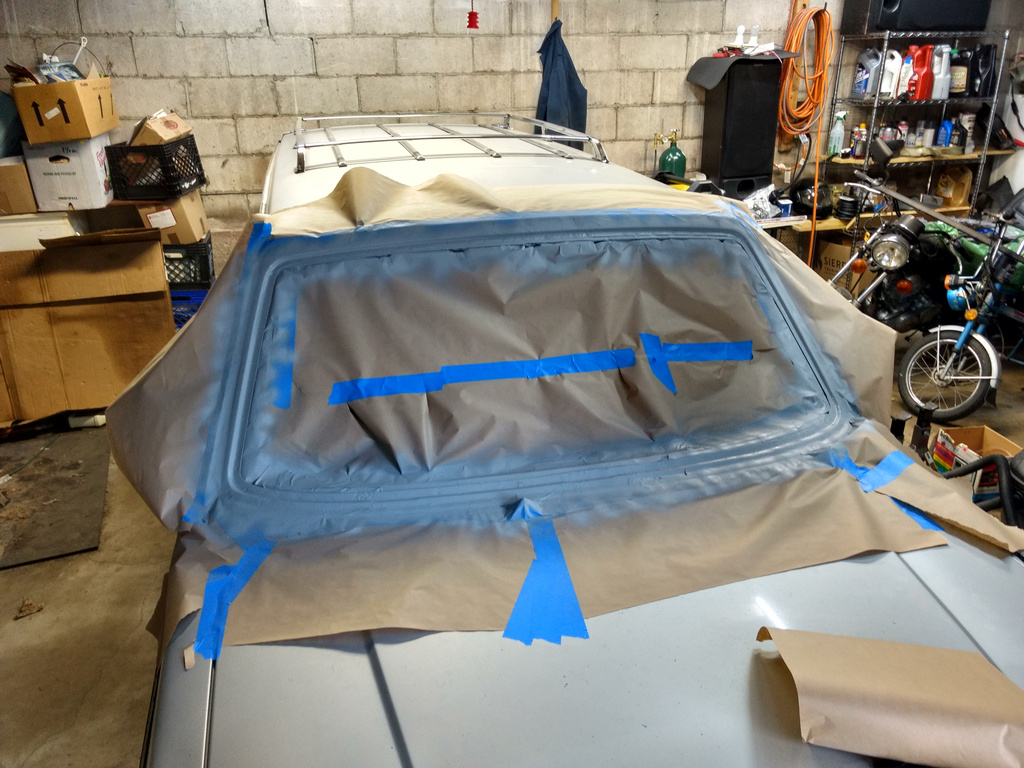
Considering the horrific condition of the windshield seam before the job, the result isn’t half bad:
Next, I had to answer a question that I couldn’t find clear information on anywhere on the internet. Is it possible to re-use a pre-‘90 style windshield but replace the trim with the more modern glued rubber? The answer is yes. You do not need to buy a whole new ‘91+ windshield if you already have an older pane of glass in good condition.
I bought some Gold Glass Group Universal Moulding T107B on Ebay in a 15ft. roll and applied it to the edge of the old style windshield instead of the clips and chrome trim.
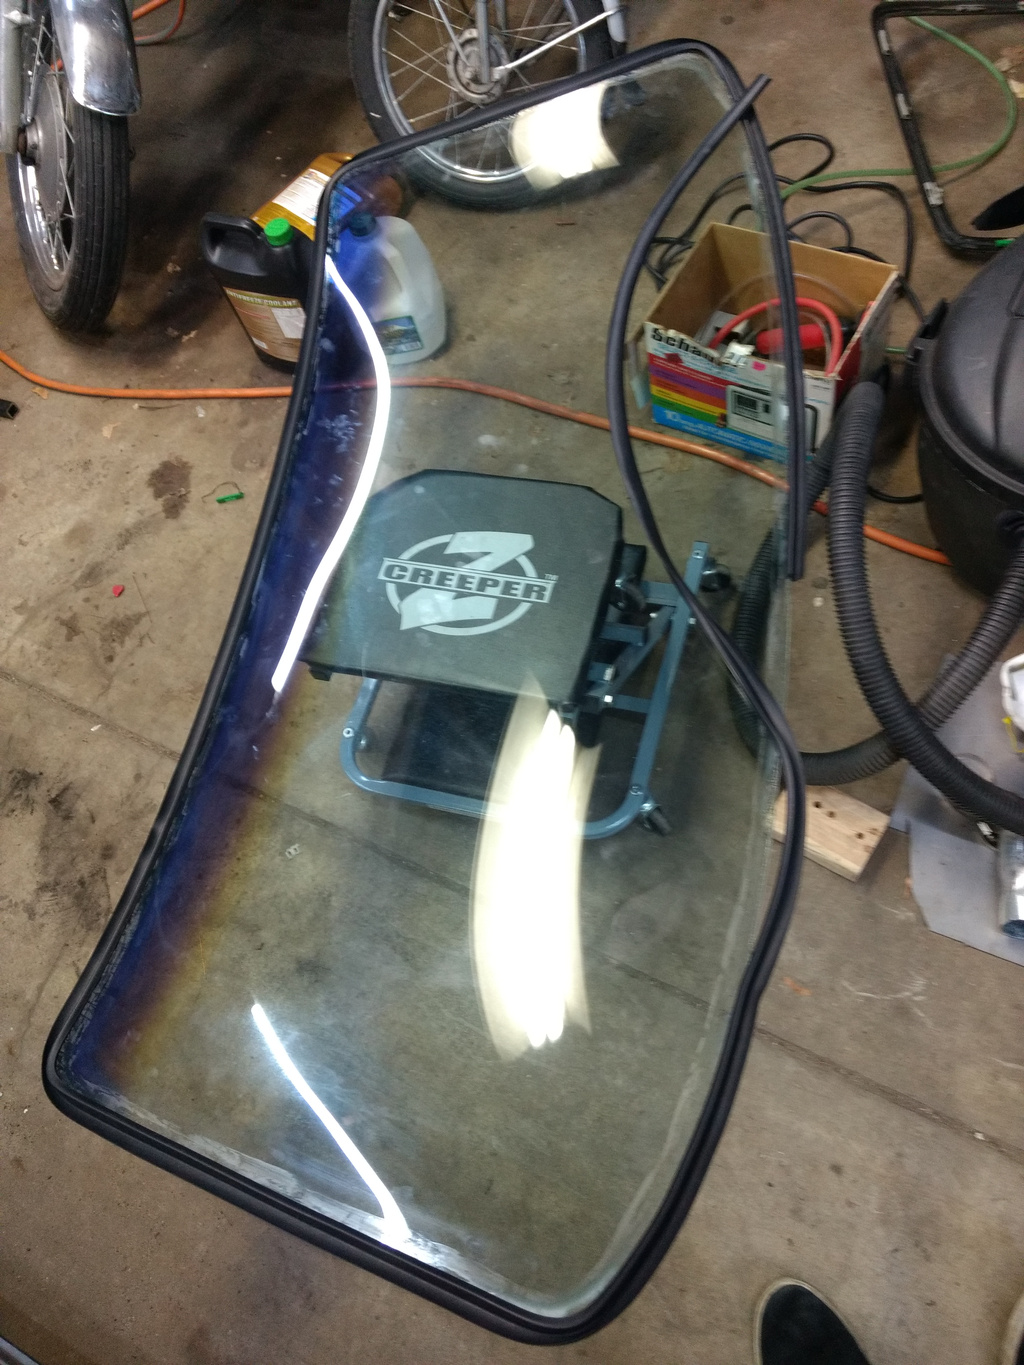
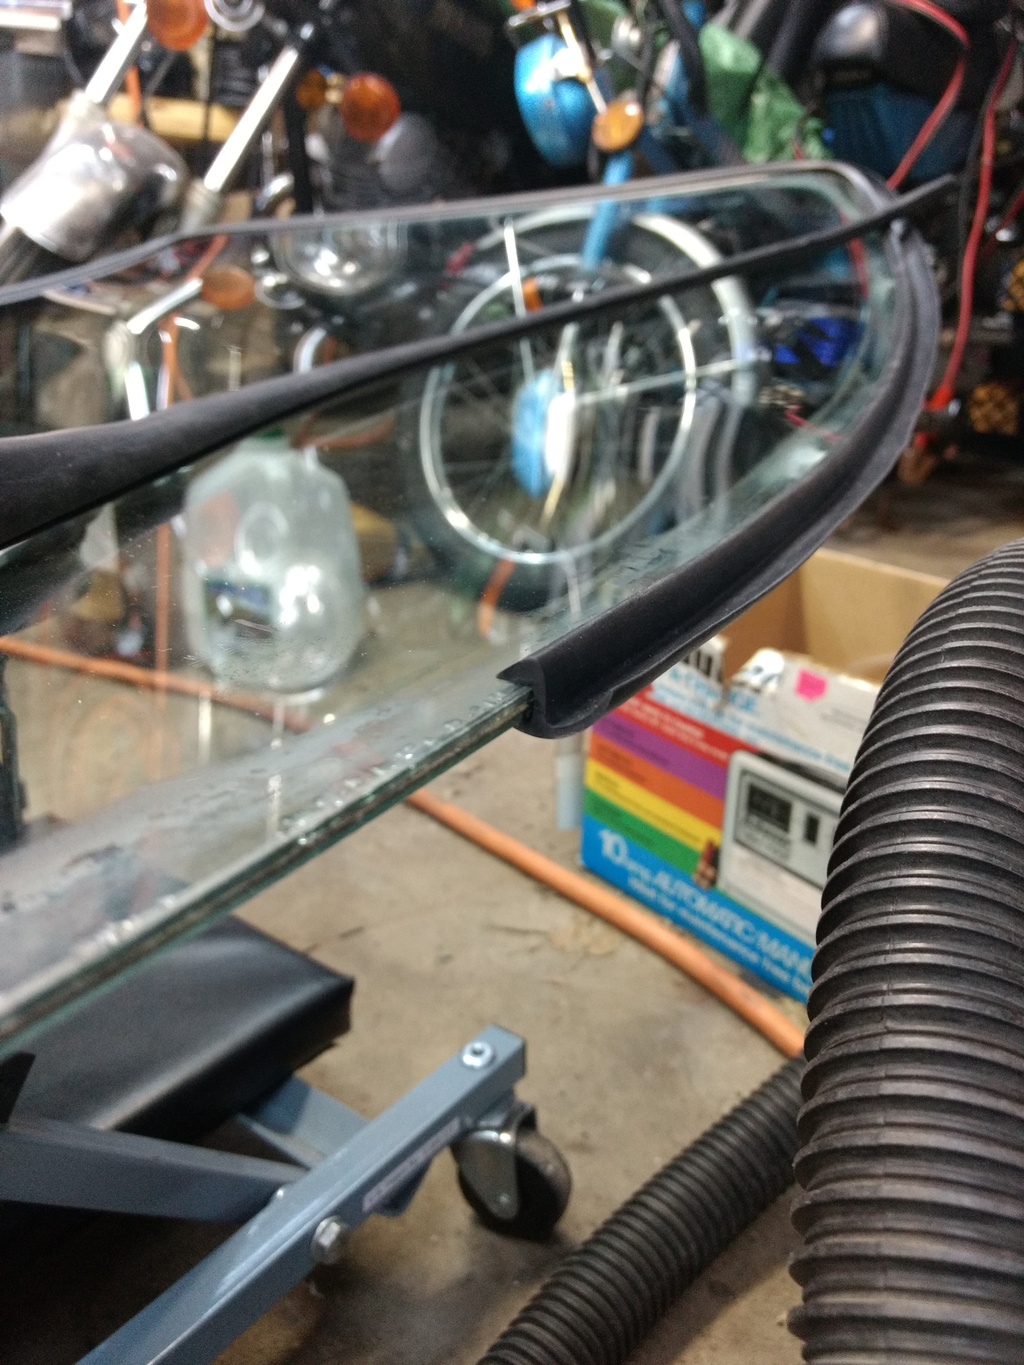
A test fit confirmed it fit into the windshield opening perfectly. I think moving from the 0.75” T107B to the 1” T109B trim would have been a good move, to better cover some of the nasty surface where the old trim sat. During the test fit I made some marks around the perimeter to help locate the windshield later when I installed the urethane.
I bought two tubes of DOW U-428 Plus Primerless Windshield Adhesive and a air powered caulk gun and laid down a bead about 9mm tall on the seam. The air powered caulk gun was absolutely essential; the U-428 is so thick that you could never extrude it from a hand powered gun. I had the regulator on my compressor at nearly 60 PSI to get it to flow. I only ended up using one tube, but this isn’t the kind of job you can afford to run out of adhesive 90% of the way through!
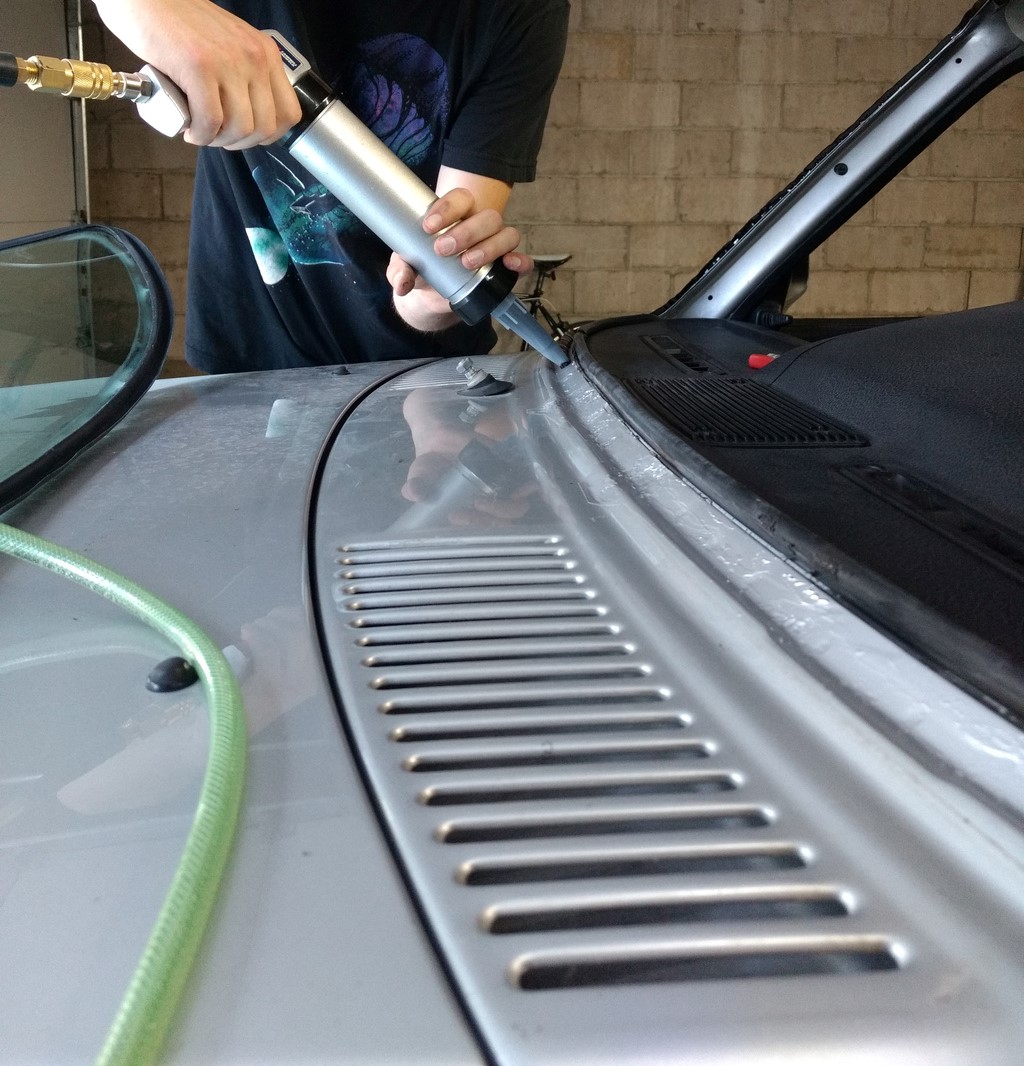
With a helper, I lifted the windshield in and set it in place. We made final position adjustments and taped it in place with some blue tape. For the temperature and humidity of my location, Dow calls for at least 5 hours of cure time before drive-off.
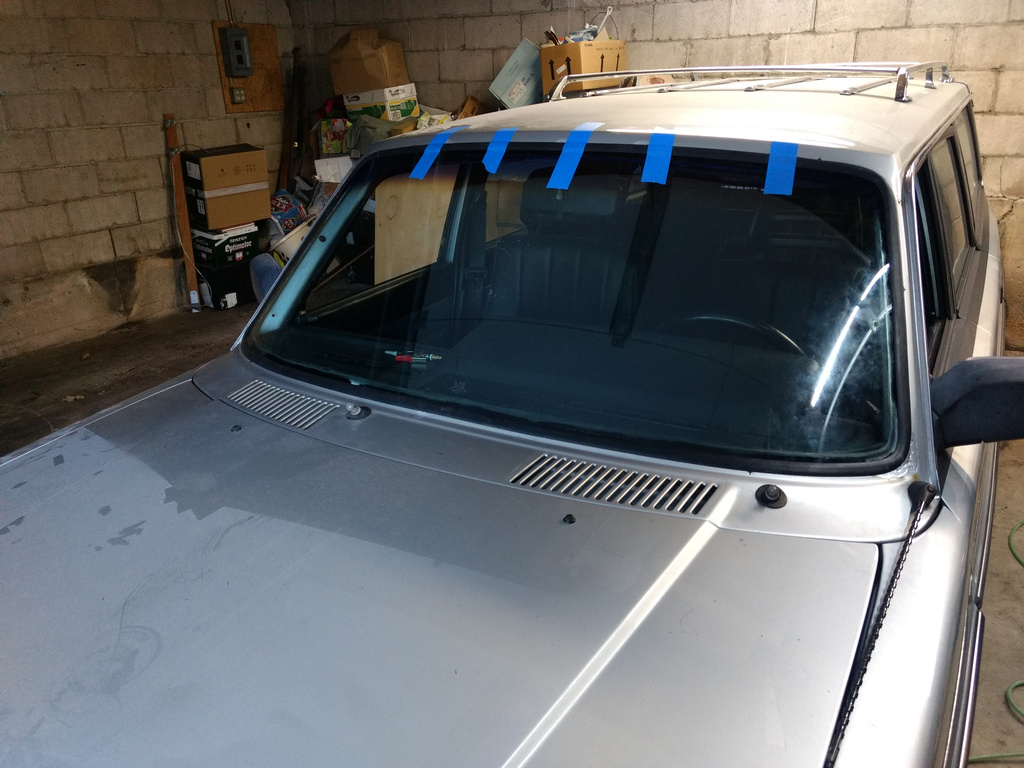
Overall, a pretty long process but nothing an experienced garage fabricator couldn’t do on their own. The final result doesn’t look too bad:
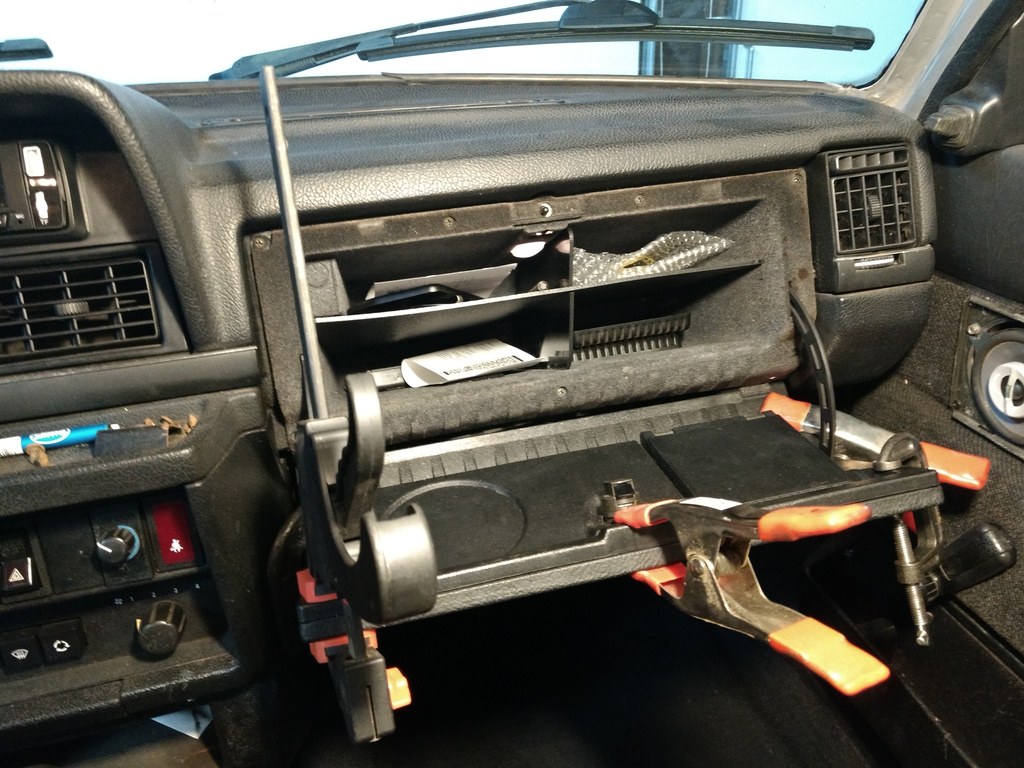
I’m sure it’s a horrible misuse of the urethane, but I had a few grams left over, so I used it to glue the perpetually falling off glovebox back together:
 Peter Den Hartog - Blog